Tcpdump is a well known command line packet analyzer tool. Using tcpdump command we can capture the live TCP/IP packets and these packets can also be saved to a file (pcap). Later on these captured packets can be analyzed via tcpdump command.
This command becomes very handy when it comes to troubleshooting on network level.
This tool is available in most of the Linux distributions, for Debian based Linux, and in case if you want to install, then you can use the following command to install tcpdump
Command: apt-get install tcpdump -y
Note: When we run the tcpdump command without any options then it will capture packets of all the interfaces. So to stop or cancel the tcpdump command, type “ctrl+c” .
Tcpdump Command Syntax
Like all computer commands, the tcpdump command works properly only if the syntax is correct:
tcpdump [ -adeflnNOpqRStuvxX ] [ -c count ]
[ -C file_size ] [ -F file ]
[ -i interface ] [ -m module ] [ -r file ]
[ -s snaplen ] [ -T type ] [ -U user ] [ -w file ]
[ -E algo:secret ] [ expression ]
REMEMBER –
- tcpdump works in network layer
- a network packet header consists of sender,destination,state information and other flag informations.
- it only captures the first 96 bytes of data from the packet by default.
In this article, we will discuss how to capture and analyze packets using 25 different practical examples.
When we run the tcpdump command without any options, it will capture packets on the all interfaces, so to view all possible network interfaces, you can use the following command.
Command: tcpdump -D
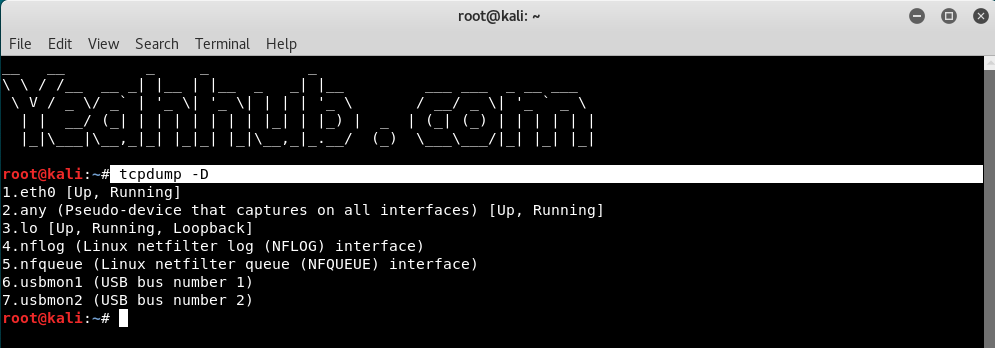
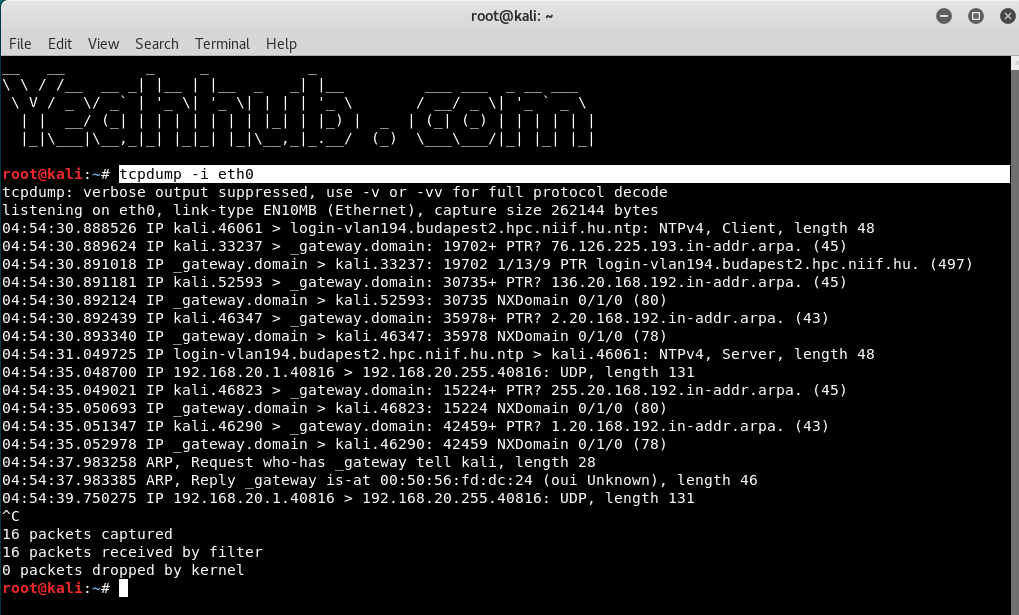
And to capture the packets from a specific interface (e.g. eth0 as shown in above screenshot) use the following command with -i option.
Command: tcpdump -i eth0
In case, if you want to capture the packets from all interfaces then you can use 2nd option i.e. tcpdump -i any
By default, tcpdump command will run infinite number of times until it is cancelled, but if you want to capture N no. of packets, the command is:
Command: tcpdump -i eth0 -c 5

To save all the packets in a file, you need to use -w option and make sure that file extension must be .pcap so that any network protocol can read the file.
Command: tcpdump -i <interface> -c <no. of packets> -w <path>

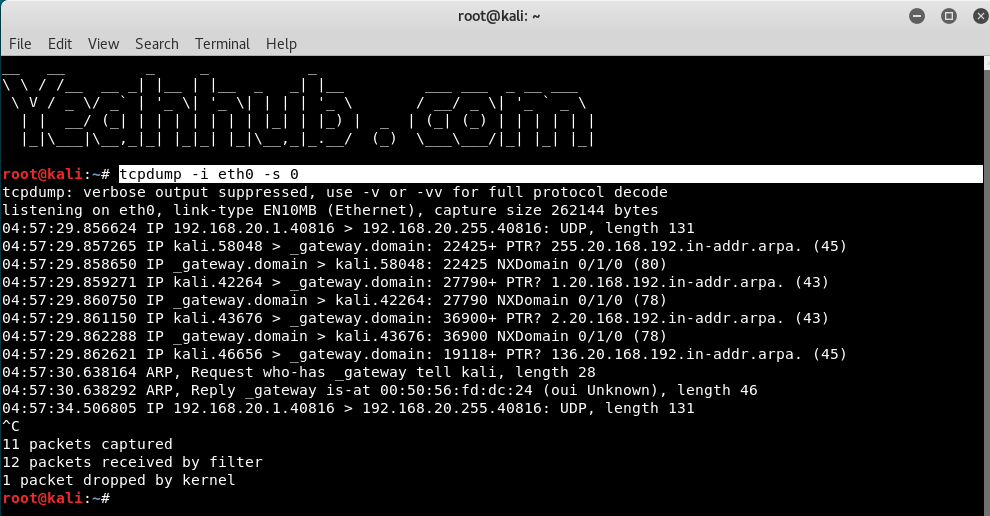
As we know that, by default tcpdump only captures the firs 96 bytes of a packet. But suppose you need to capture packets in its full size then you need to pass the size option -s with its argument.
You can either use -s 0 option to capture the whole packet or use number of bytes with -s argument.
Command: tcpdump -i eth0 -s0
If you want to capture the packets with proper readable timestamp, then the command is:
Command: tcpdump -i eth0 -c 5 -tttt -w <filename>

And for read these packets from a file, use -r option as shown below:
Command: tcpdump -tttt -r <filename>

You can also specify the packets size which you want to capture, like if you want to capture the packets whose size is longer than N bytes, then the command is:
Command: tcpdump -i eth0 greater 1024

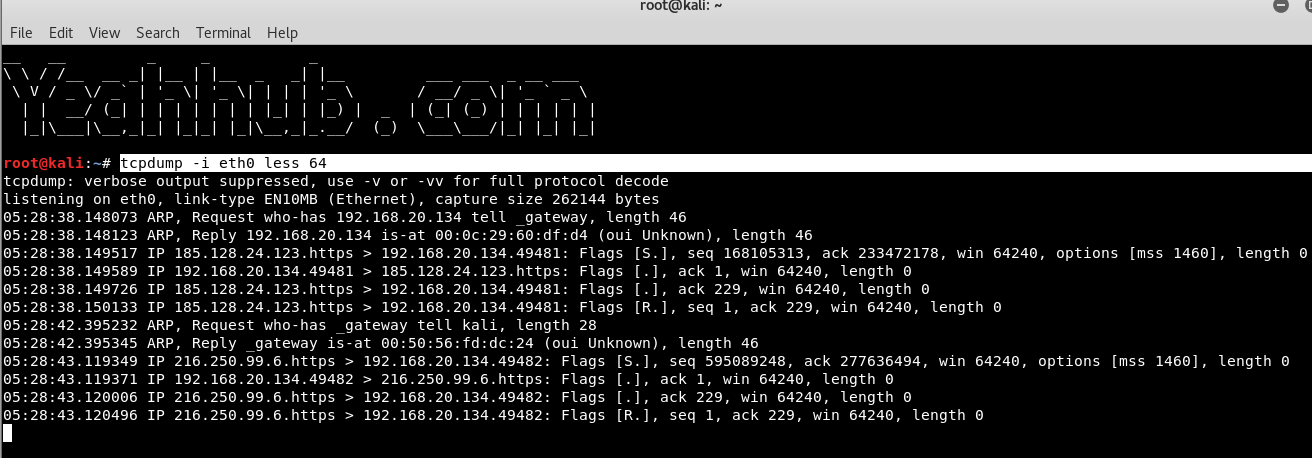
Similarly, if you want to capture the packets less than N bytes, then the command is:
Command: tcpdump -i eth0 less 64
Furthermore, tcpdump supports so many protocols, you can also capture the packets belongs to particular protocol as shown below:
Command: tcpdump -i eth0 arp

Get all the packets based on the IP address, whether source or destination or both, using the following command,
Command: tcpdump host <IP>

To capture packets from source IP, say you want to capture packets for 10.228.13.93, use the command as follows.
Command: tcpdump src 10.228.13.93

To capture packets from destination IP, say you want to capture packets for 192.168.20.136, use the command as follows.
Command: tcpdump dst 192.168.20.136

Let’s say you want to capture packets for specific port 21 (FTP), execute the below command by specifying port number 21 as shown below.
Command: tcpdump -i eth0 port 21
It is also possible to use a range of ports in order to capture your network traffic with option portange 1-1000

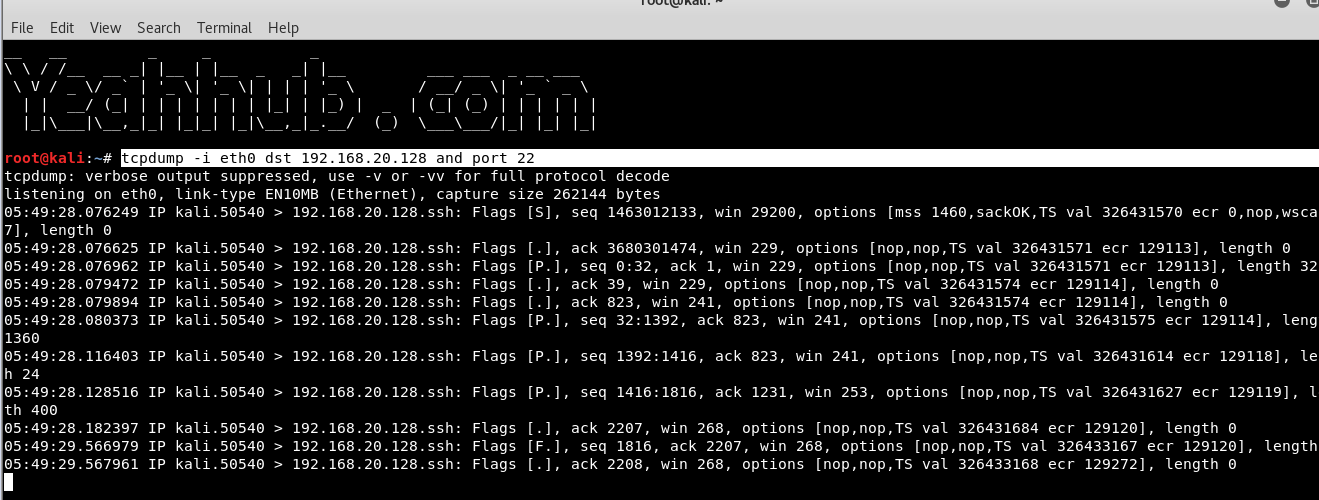
Capture packets for particular destination IP and Port, the command is:
Command: tcpdump -i eth0 dst <IP> and port 22
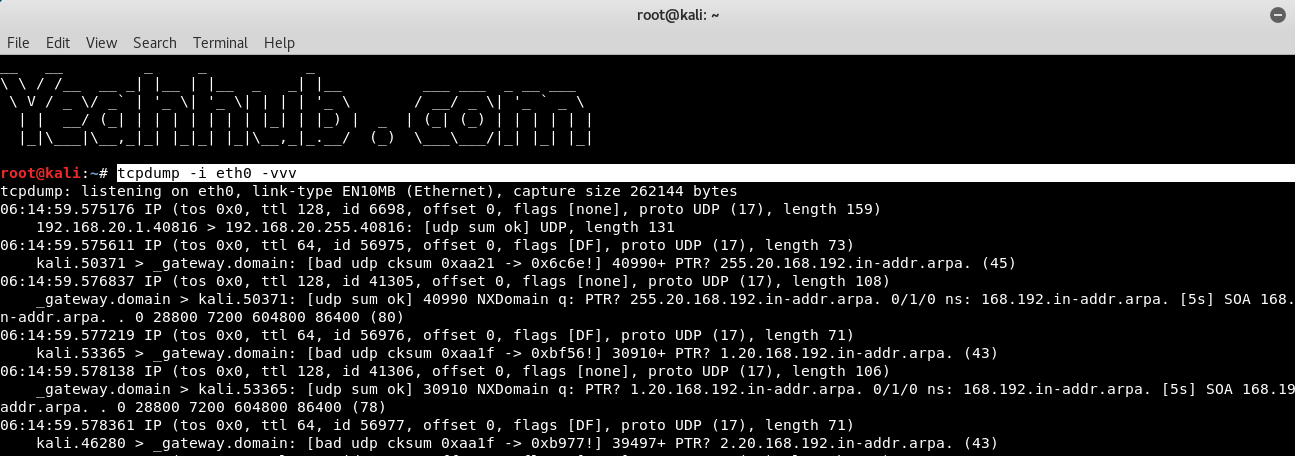
If you want your tcpdump output to show you more verbose information like, show all the flags, and headers in tcp we can use verbose options.
Command: tcpdump -i eth0 -vvv
Where,
- -v for little more packet information,
- -vv for further more, and
- -vvv option for even more information.
Suppose you want the mac address of the sender and receiver then you can include -e option.
Command: tcpdump -i eth0 -e -t

With option -t, you can exclude the timestamp information.
Command: tcpdump -i eth0 -t

if you do not use tcpdump with -n option, all the sender and destination host address will be in “name” format, which means all ip’s will be displayed with hostnames.
Using -n option with tcpdump will disable name lookup. This will display all the output in sender and receiver’s IP address format.
Command: tcpdump -i eth0 -n

The below tcpdump command with option -A displays the package in ASCII format. It is a character-encoding scheme format.
Command: tcpdump -i eth0 -A

The following command with option -XX capture the data of each packet, including its link level header in HEX and ASCII format.
Command: tcpdump -i eth0 -XX

Other Practical Examples –
Hex output: useful when you want to see the content of the packets in question, and it’s often best used when you’re isolating a few candidates for closer scrutiny.
Command: tcpdump -nnvXSs 0 -c1 icmp

Find HTTP User-Agent
Command: tcpump -vvAls0 | grep ‘User-Agent’

Cleartext GET Requests –
Command: tcpdump -vvAls0 | grep ‘GET’

Find HTTP Host Headers –
Command: tcpdump -vvAls0 | grep ‘Host:’