
The Apache HTTP Server, colloquially called Apache, is the world’s most used web server software. As of November 2015, Apache was estimated to serve 50% of all active websites and 37% of the top servers across all domains.
You can easily extend the web server’s operation by using independent, separate pieces of software called modules that provide specific functionality. Some modules come built-in with Apache, while others can be installed using your distribution’s package management system and enabled to integrate with the web server.
In this article, we will show how to install the XAMPP (Apache + MySQL + PHP + PERL) web server in Ubuntu 18.04.
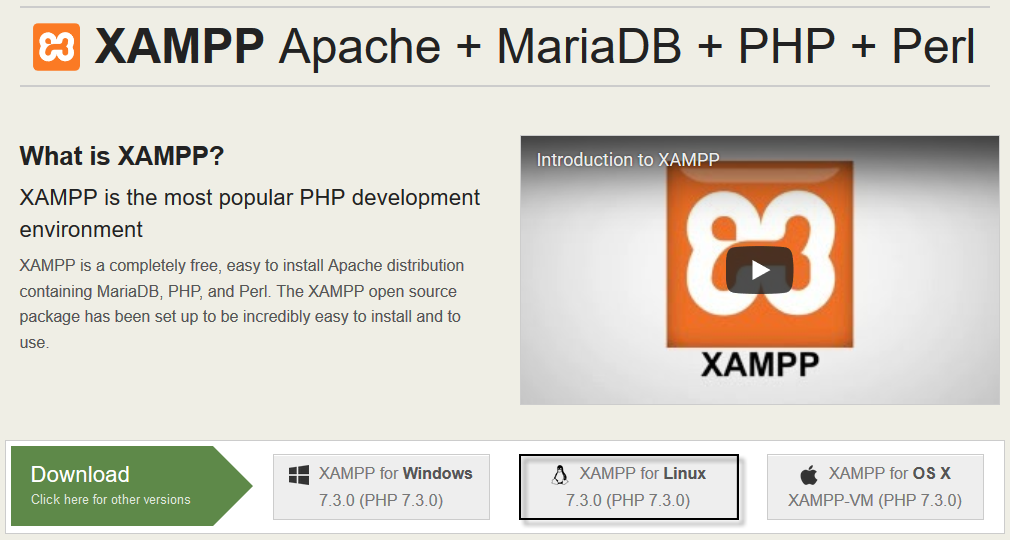
The very first step is to download the XAMPP package from their official website i.e. apachefriends.org. XAMPP is a completely free, easy to install Apache distribution containing MariaDB, PHP, and Perl. The XAMPP open source package has been set up to be incredibly easy to install and to use.
Click on the XAMPP for Linux option after which you will be prompted to Run the package or Save it to your system.
Next, open the command line terminal and navigate to /root/Downloads/ directory and give executable permissions to xampp package file which we downloaded in first step as shown below:
Command: cd /root/Downloads/
Command: ls
Command: chmod 755 xampp-linux-x64-7.3.0-0-installer.run

As a super root user (root@ubuntu), run the following command in order to launch the graphical setup wizard.
Command: ./xampp-linux-x64-7.3.0-0-installer.run

This will launch the Setup wizard that will direct you with the rest of the installation procedure. At the end you need to finish the installation process.
After that, you need to start the xampp application by typing the following command from the terminal.
Command: sudo /opt/lampp/lampp start

From the output, it clearly shows that the XAMPP is started and already running. Please note that you need to manually start XAMPP each time you restart your system.
In case, if you’re getting some errors related to netstat or command not found, then make sure that you must install net-tools package by typing sudo apt-get install net-tools.
After you have installed XAMPP on your Ubuntu 18.04 machine, it is good practice to verify the installation by typing your IP address with http protocol in your browser.

If you cannot see any welcome page after starting XAMPP in Ubuntu and your web browser says it can’t establish a connection to the web server, please check the following:
- Did you misspell the IP address in the browser’s URL bar?
- Is default firewall in Ubuntu allowing http traffic?
To replace this default test page created by xampp package, create a simple html file and save it as index.html in /opt/lampp/htdocs directory.
To manage the database, you can go to http://localhost/phpmyadmin and in case if you want to uninstall the xampp package, then the command is ./uninstall as shown below:

It is advised, though not strictly required, to hide the Apache and operating system versions in error pages. To do that, make sure the following directives have the indicated values in the configuration file. This will prevent (or at least, make it more difficult for) potential attackers from targeting known vulnerabilities either the web service or your server as a whole.
Add the following lines at the end of the main configuration file:
ServerSignature Off
ServerTokens Prod
and you’re good to go.
In this tutorial, you have learned a step-by-step installation process for XAMPP on your Ubuntu 18.04 System.


