WaveBox is one of the best Email Client for especially Linux distributions but also comes for Windows OS and MacOS which bringing Gmail, Hotmail, Inbox, Outlook etc into a configurable client. Wavebox is built using Electron, React and Flux and supports more than 1100+ applications.
The Latest version of WaveBox is v3.14.10beta (As checked per Dated 13-August 2018)
All accounts start with a 14 day free trial of Wavebox Pro. No credit card required. After that you can continue to use Wavebox Basic for free or subscribe to Pro.
In basic Package (FREE), you can add only up to 2 Google Gmail/Inbox accounts but in Pro and Enterprise Packages, everything is unlimited. WaveBox also offers heavy discounts for purchasing 10 or more pro accounts.
"GOODBYE TO BROWSER TABS and WELCOME TO WAVEBOX"
Features of WaveBox –
- All your web apps in one place: You can easily add your favourites from the Directory of 1000+ apps/websites/services and easily hop between them to create faster workflows, and enjoy a smarter way of working.
- Never miss a thing: Stay signed-in to all apps simultaneously and keep up-to-date with real-time notifications and unread badges.
- Focus on what’s important: Declutter your desktop by having everything in one place, and use ‘mute’ across all apps when you need time to concentrate.
- Better than a browser: Unlike browser tabs which work independently, Wavebox brings everything together as a single suite of web apps. It’s faster, more secure and uses less processing power.
Installation of WaveBox in Kali Linux –
WaveBox currently gives 2 Gmail/Inbox accounts in free package.
To download WaveBox, Navigate to https://wavebox.io/download and download the 64-bit debian installer file via wget.
To install WaveBox, the command is:
Command: sudo dpkg -i Wavebox_3_14_6_linux_x86_64.deb

After that you need to install all the dependencies by typing “sudo apt install -f” as shown below:

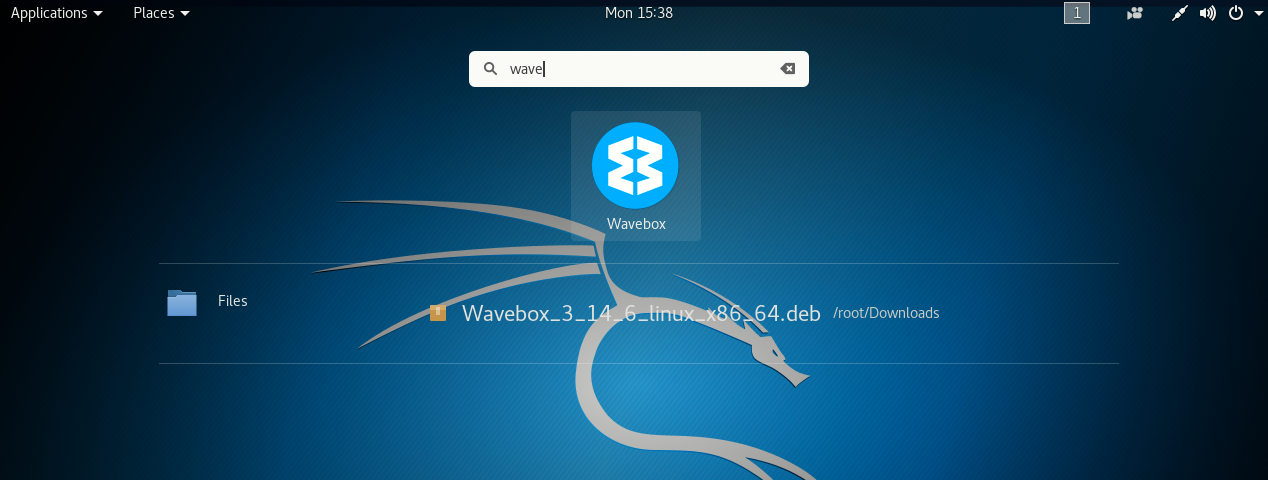
Now, click on Show Applications icon (showing at left hand side) and search “WaveBox”
Start the WaveBox and accept the Service Agreement, EULA and Privacy Policy by clicking the checkbox field.
And this is the biggest lie on the internet, actually reading online privacy policy and service agreements before clicking ‘accept’ 🙂

In next screen, WaveBox recommends you to install more fonts but you can skip this screen and install the fonts later on if required.

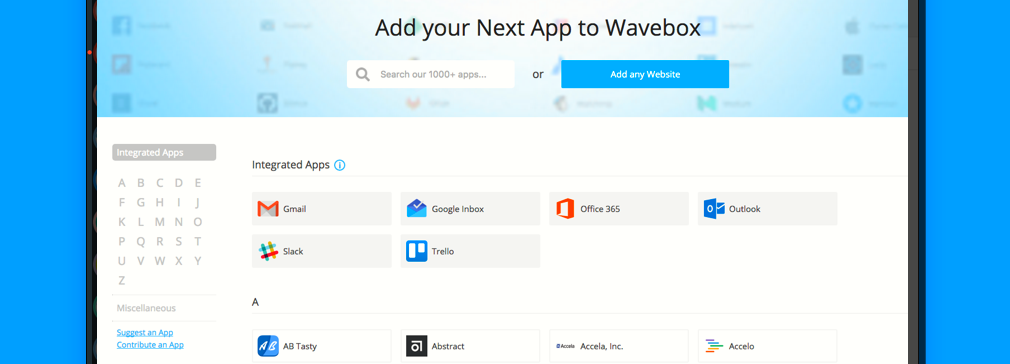
Now you’re ready to add your first account (of course its GMAIL for us) by clicking on button “Add your first account“.

Select Gmail from below list and the best thing about WaveBox is that it supports more than 1100+ applications which you can easily configure within WaveBox.

Pick a color and choose Google Services to show.

Next, it will asks you to enter your correct username and password.

After successful authentication, choose your priority mails and complete the procedure.

And Your Gmail will be ready in less than 10 seconds and it looks so beautiful with top and left side bar icons.
If you need to add other accounts, just click on the “Add Account (+)” button at the bottom-left side of the screen.


