
XML-RPC is a remote procedure call which uses XML to to encode its calls and HTTP as a transport mechanism. XML-RPC can be called as a system which enable user to publish post from remote weblog client.
XML-RPC service is already enabled by default in all WP versions 3.5 or higher which helps you to connect your WP site with web and mobile apps.
In last article, we’ve already explained the exploitation of XMLRPC through which you can easily perform bruteforce and DOS type of attacks.
Suppose you are using some kind of plugin for brute forcing protection (Login Lockdown) and if you are trying to bruteforce the site with millions of passwords then your IP will be blocked immediately but with the help of XMLRPC, you can easily bruteforce the WordPress site with system.multicall function.
So XML-RPC service is always at high risk for WordPress based websites and you should disable this service if you are not using.
Sample of log file:
194.150.168.95 – – [07/Oct/2015:23:54:12 -0400] “POST /xmlrpc.php HTTP/1.1” 200 14204 “-”
“Mozilla/5.0 (Windows; U; WinNT4.0; de-DE; rv:1.7.5) Gecko/20041108 Firefox/1
In Older versions of WordPress, there was an option to disable the XMLRPC service from the dashboard directly but in higher and latest versions, this option is going away.
You might have seen a /xmlrpc.php file in many wordpress sites you visit , you might have even tried to search the error (XML-RPC server accepts POST requests only) that appears when you visit http://example.com/wp/xmlrpc.php.

So today we’ll show you how to disable XMLRPC in WordPress with 3 different ways as explained below:
1. With Code (functions.php)
Every theme has a functions.php file which is the main core file for every website. You just need to edit this functions.php file and paste the following code into it before closing the ?> PHP tag.
add_filter(‘xmlrpc_enabled’, ‘__return_false’);
Alternatively, you can also use the following code which redirect your xmlrpc.php request and will show 403 forbidden error.
add_action (“init”, function () {
global $ pagenow; // get current page
if (! empty ($ pagenow) && “xmlrpc.php” === $ pagenow) {
header (“HTTP / 1.1 403 Forbidden”); // produce an error 403
exit; // exit request
} return;
});
And to hide the xmlrpc.php in HTTP response headers, add the below code in same functions.php file.
add_filter( ‘wp_headers’, ‘yourprefix_remove_x_pingback’ );
function yourprefix_remove_x_pingback( $headers )
{
unset( $headers[‘X-Pingback’] );
return $headers;
}
Along with disabling xmlrpc service, you can also disable the Pingback requests by adding the following code into same functions.php file.
function disable_xmlrpc_ping ($methods) {
unset( $methods[‘pingback.ping’] );
return $methods;
}
add_filter( ‘xmlrpc_methods’, ‘disable_xmlrpc_ping’);
2. With Htaccess (.htaccess)
As we all knows that, .htaccess file is available in all Apache servers which is the hidden file and you just need to paste the following code into it to disable the XMLRPC service.
# Block WordPress xmlrpc.php requests
<files xmlrpc.php>
Order allow,deny
Deny from all
</files>
Along with, if you want to enable particular IP to access XMLRPC service, then you can add an allow entry to above code as shown below:
# Block WordPress xmlrpc.php requests
<Files xmlrpc.php>
order deny,allow
deny from all
allow from 12.13.14.15
</Files>
And for NGINX servers,
# nginx block xmlrpc.php requests
server {
# stuff
location = /xmlrpc.php {
deny all;
}
}
For IIS servers, you can use IIS URL Rewrite module which is same as HTACCESS like restrictions.
<rule name=”wordpress-restrictions” enabled=”true” stopProcessing=”true”>
<match url=”(^xmlrpc.php)|(^wp-admin)|(^wp-login.php)” />
<conditions logicalGrouping=”MatchAll” trackAllCaptures=”false”>
<add input=”{HTTP_X_FORWARDED_FOR}” pattern=”(^11\.11\.111\.111$)” negate=”true” />
</conditions>
<action type=”CustomResponse” statusCode=”404″ subStatusCode=”44″ statusReason=”File or directory not found” statusDescription=”The resource you are looking for might have been removed, had its name changed, or is temporarily unavailable.” />
</rule>
Where 11.11.111.111 is your white listed IP.
And for simply denying the request to xmlrpc.php, you can also use apache rewrite rules as shown below:
<IfModule mod_alias.c>
RedirectMatch 403 /xmlrpc.php
</IfModule>
3. With Plugin
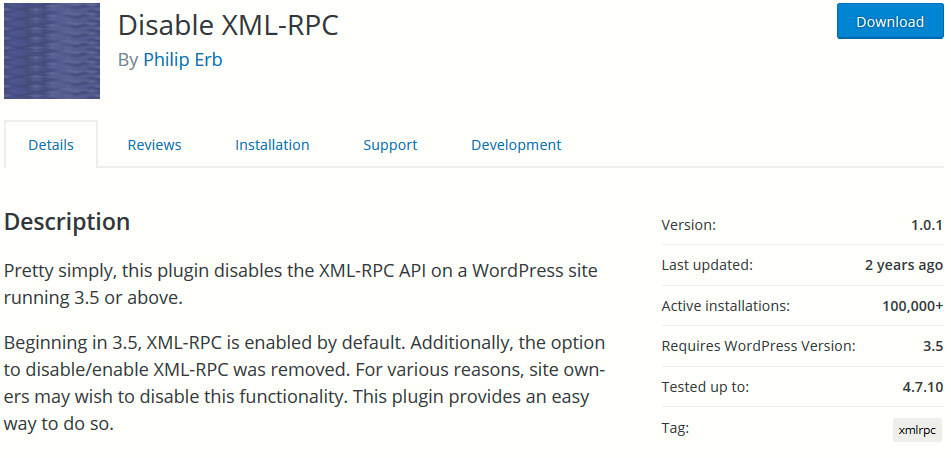
If you don’t want to mess with WordPress code, then a plugin is the safest way to disable xml-rpc. All you need is to install Disable XML-RPC plugin or Eazy XMLRPC Pingback Disable and activate it.
Note: The above plugin was last updated by 2 years ago, so use this plugin at your own risk.
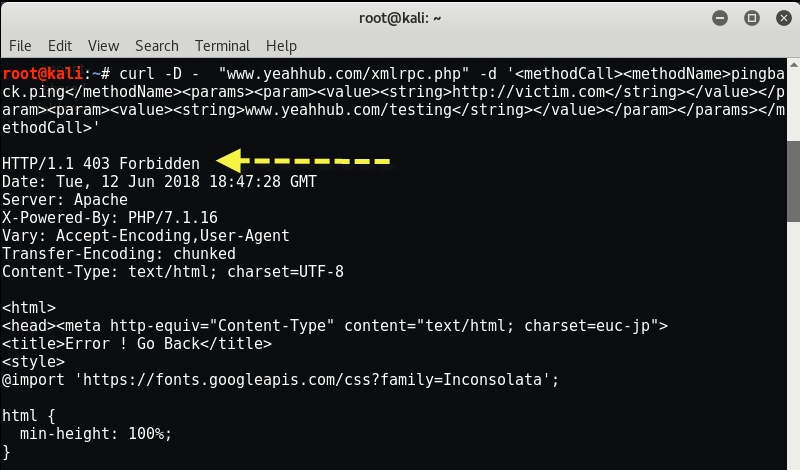
Furthermore, you can easily test the xmlrpc service with the help of CURL by typing the following command from your terminal:
Command – curl -D – “www.example.com/xmlrpc.php” -d ‘<methodCall><methodName>pingback.ping</methodName><params><param><value><string>http://victim.com</string></value></param><param><value><string>www.example.com/testing</string></value></param></params></methodCall>’
If it shows 403 Forbidden error, then it means that your xmlrpc service is disabled in your website.
There are several popular apps and plugins that make use of some part of the XML-RPC function. They are:
- WordPress Mobile App
- JetPack (just some parts of it)
- LibSyn (for podcasts)
- BuddyPress
- Windows Live Writer
- Various photo gallery plugins
How to tell if your WordPress site has been hacked
A simple way to find out if your site has been hacked using the XML-RPC protocol, is to open the access_log file located on your hosting account. If you see a very large number of visitors, your site is attacked via XML-RPC.


